
Using Opitical Character Recognition on the Cluster#
By Peter Nadel, Digital Humanities Natural Language Processing Specialist
In this document, we introduce and explain the use of the Optical Character Recognition (OCR) application on the Tufts High Performance Compute (HPC) Cluster. This document does not give an in-depth description of all of the intricacies of this application.
We also encourage you to explore the HPC Cluster documentation.
What is OCR?#
The OCR application is designed to take image files and return a transcription of the text in that image and do so in a safe and secure fashion.
Who is this for?#
This application is best suited for individuals who require plain text of primary source documents for their research. Often time a key next step is searching through your data for key words. If you are interested in this feature, check out the Text Search application.
OCR details#
This application expects a folder of image files uploaded to the Cluster. So long as you have that you are able to use this application. If you only have one file, simply uploaded it in a folder by itself. You have the choice to output the results as either .txt files of the plain text or as PDFs that have highlightable text in them.
Getting started#
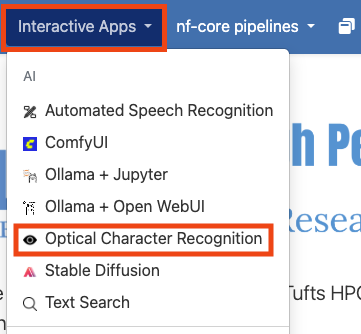
OCR is an Open OnDemand application on the Cluster, meaning that it can be access from the Interactive Apps drop down in the Open OnDemand website. To get started, visit and log into the Open OnDemand website for the Tufts Cluster. Once there, select the “Interactive Apps” drop down and click on “Optical Character Recognition”.
Configuring you session#
Once you’ve clicked on “Optical Character Recognition”, you will be able to configure the setting for using the application. Some of these options can be confusing, so we have left an example configuration below. If you are unsure, feel free to use this one. Otherwise, we explore what these parameters mean here:
Number of hours: This parameter controls how long your session will run for. At the conclusion of this time, your session will end. Be sure to choose a time that matches how you expect to need in hours. You can always budget more time than you may need and they end the session early if you need.
Number of cores: This field controls how many CPU cores are allocated for your session. It is important to pick a value proportional to the size of the LLM you’d like to run. If you are having trouble choosing, you can use the value shown below.
Amount of Memory (GB): This setting controls how many gigabytes of RAM are allocated to your session. This value can also be difficult to choose, so I like to use double the amount of CPU cores that I have selected.
Partition: You should choose the “gpu” option. Generally, we require hardware acceleration to run OCR models. You can run some models, however, with just CPUs, especially if you adjust the number of cores and amount of memory to be quite high, in which case, you could select “batch” for this option.
GPU architecture: This parameter controls the type of GPU that is allocated for your session. For the most part, it may not matter, however, if you pick a GPU type that is high demand, it may take longer for your session to get allocated. For more information on how to check demand for GPUs, use the
hpctoolsCLI. Learn more here.Input image directory: This parameter should be the file path to the folder with the image files you’d like to transcribe.
Output Format: Here you can choose to have the output either in a plain text file (.TXT) or as a PDF file in which the text is lined up to its place on the image, though due to variations in font size, this may not always work as it might with third party applications.
The rest of the the fields should remain in their default configuration. When you are ready, click “Launch”.

Getting your results#
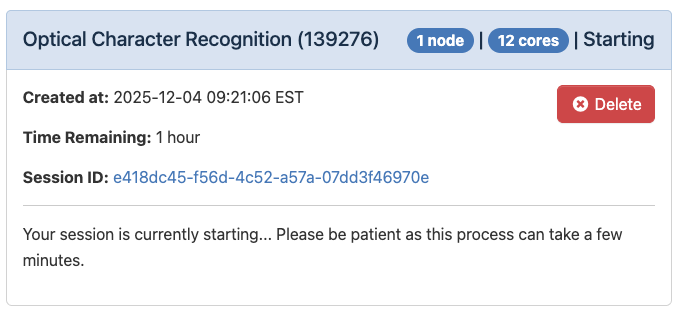
Once you’ve launched your session, you will see the loading message below. It is very normal to see this for a couple minutes.
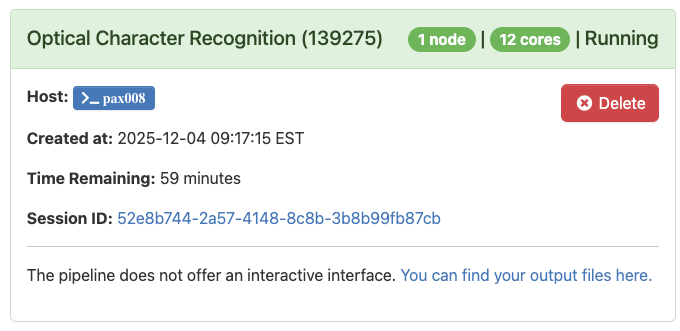
When the application starts running, you’ll see the message below:
When the application is complete and the text has been searched, you will see the message below:
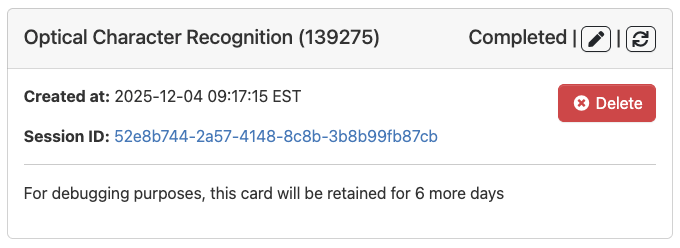
You can new visit the directory with your source files and the results will be in a new subfolder called \_output.
For any questions, please reach out to Research Technology at: tts-research@tufts.edu.